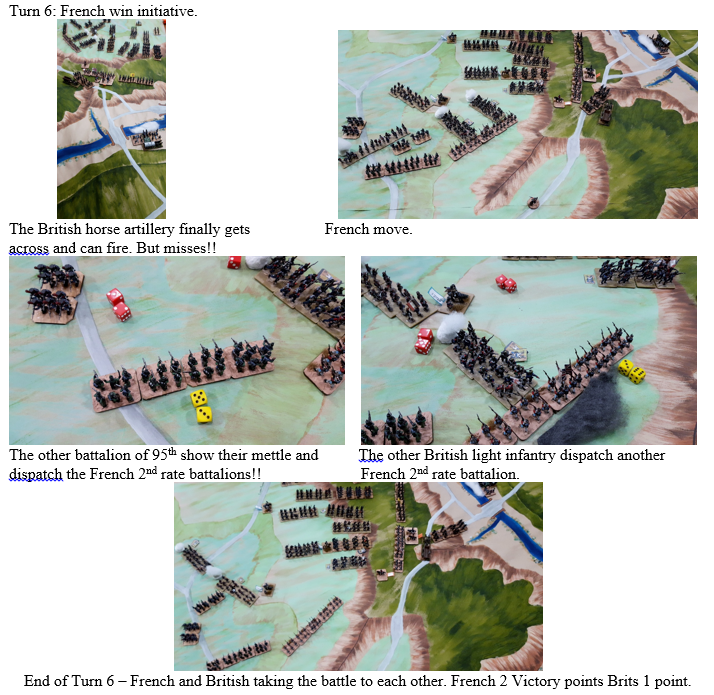
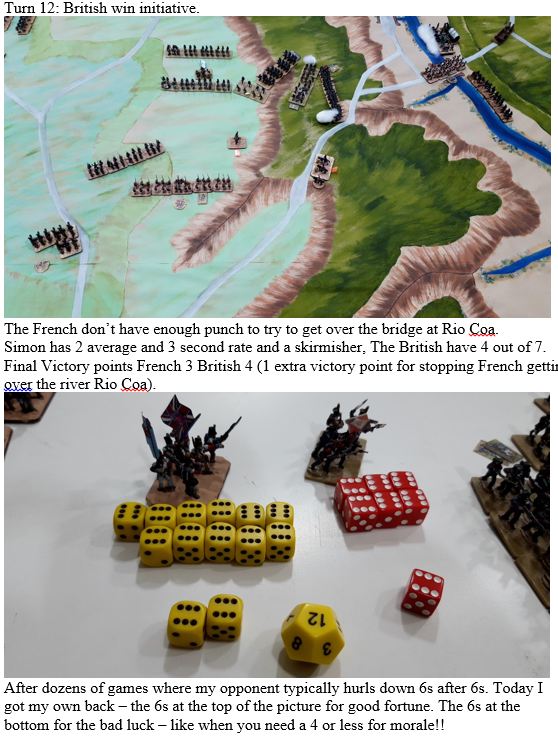
Battle Rio Coa Portugal 24th July 1810
Setup
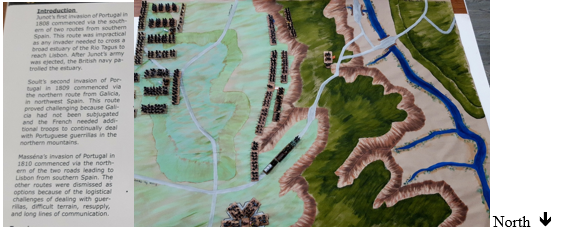
The terrain map was put together with brown wrapping paper – 80gsm 750mm x 50m Kraft Wrapping paper. Overlapping in the middle set to size 5’ by 4’ with side edge extra for strength of a few inches – glued with PVA / glue stick. Terrain map basic layout courtesy of Michael Hopper’s - Rise of Albion scenario book. So I sketched out to scale and painted on with Acrylic paints to designate the hills, roads, river / stream, (an adaption I chose from the lovely maps created by Colin in our 20mm campaigns – see Simon’s blog on http://www.servicerationdistributionhobby.blogspot.com ). Found with 15mm figures the 2D maps are the easiest and Michael’s maps and positions of terrain make all the difference in the battle. So cheap, easy to store, and if you are finished with it then environmentally easy to dispose of.
In this map (the top of the pictures are the South, the bottom of the pictures is the North) the Light green hills to the left (East) are the highest mountain range where the French arrive, going down across steep hills to the River on the right (West).
The basic scenario involves the French pushing in on the British who are trying to get off over the bridge across the Rio Coa on the West of the map.
I am playing the British CinC Craufurd who has 2 baggage stands (a Horse artillery, and a caisson to the front which has a chance to tip over), with Beckwith as General who has 2 Elite Rifles (95th), one large Light infantry, and 2 British light infantry and 2 Portuguese Cacadores light infantry. Cox the other General is in the 6 sided redoubt in the North (bottom of the picture) of the map (6 foot artillery, and 5 Portuguese battalions, 1 second rate Dragoons (the infantry and artillery must stay in the redoubt). Alan is the French CinC Ney, with General Simon who has 3 average infantry and 3 second rate, and 1 skirmisher, and Ferey who has 1 average Light infantry and 6 second rate. The British setup first in a narrow band across from the redoubt to the South (top of the picture) of the map. The French who get the first initiative in turn 1 setup in the East (they decide to be well without the artillery range of the redoubt). There are special rules in the scenario for units to disengage even when in the frontal zone of the enemy (not possible in basic ShakoII), but it comes with a price – roll a D6 and see effects which could cause a casualty or two and even have you facing away from the enemy. You would get the full scenario details in Michael’s book - Rise of Albion.

Another enjoyable afternoon that was very close again.
We had time to replay it swapping sides. Alan had the two battalions at the front from the top (South) to try and stop the French getting into the flanks, and the large light infantry also in the front nearer to the Redoubt followed by the Cacadores, all within 2” flank separation. His 3 other battalions acting as rear support for the front battalions facing the French (95th, 95th, large LI, LI Cacadores, rear two light infantry and one Cacadores).
I had the French with Ferey facing the 95th, Simon facing the British large LI and Cacadores. Also keeping beyond the Redoubts artillery fire.
In the battle the 95th are lured by the rubbish French 2nd rates, in line, and decide to quickly turn away by turn 3 (as had a successful orders change) and make a run for the Bridge. But he forgot how quickly the French could turn into column and charge forward. The 95th was caught in the rear and finally destroyed. The British did well in the centre and Simon took 50% casualties and broke!! Ferey (also on 50% but passed morale) and Sprunglin (the Elite Light infantry with 3 casualties) were all the French had left. But the French had managed to destroy 5 British battalions, the British only managed to get the Horse artillery and a unit of Cacadores off the table, the Caisson just on the bridge. So the final Victory points were French 5 British 3. Still a close game, both sides rather beaten up. | 


