Battle Cartaxo 16th November 1810
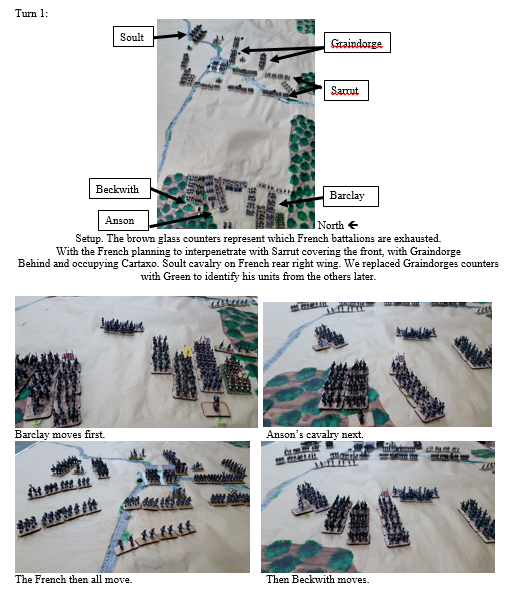
Setup
When the fog lifted in front of the lines of Torres Vedras on November the 15th the starving and exhausted French were gone. Pursuit was cautious. Battle 1pm to 5pm – in game time 12 turns.
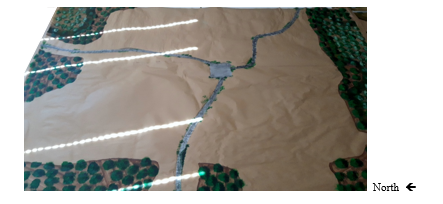
The terrain map was put together with brown wrapping paper – 80gsm 750mm x 50m Kraft Wrapping paper. Overlapping in the middle set to size 6’ by 4’ with side edge extra for strength of a few inches – glued with PVA / glue stick. Terrain map basic layout courtesy of Michael Hopper’s - Rise of Albion scenario book. So I sketched out to scale and painted on with Acrylic paints to designate the hills, roads, orchards (an adaption I chose from the lovely maps created by Colin in our 20mm campaigns – see Simon’s blog on http://www.servicerationdistributionhobby.blogspot.com ). Found with 15mm figures the 2D maps are the easiest and Michael’s maps and positions of terrain make all the difference in the battle. So cheap, easy to store, and if you are finished with it then environmentally easy to dispose of.
In this map the hills are gentle, and covered by orchards. With roads and the built up area of Cartaxo in the centre.
The basic scenario involves the Allies pushing in from the West (bottom of picture) on the exhausted French to push them out of Cartaxo.
I am playing the British CinC Wellington, with Beckwith as General (1st Brigade) who has 1 Elite light Infantry Rifles, and 1 large Light Infantry (the 43rd) and 1 Light Infantry Portuguese. Barclay (2nd Brigade) the other General with 1 Elite light Infantry Rifles, and 1 large Light Infantry (the 43rd) and 1 Light Infantry Portuguese, 1 poor light infantry (Brunswicjk Oels). Also Anson has 1 light cavalry. Alan is the French CinC Merle with General Sarrut (1st Brigade) who has 3 Light Infantry, 1 poor Light Infantry, and 1 Skirmisher & 3 Average, and 1 skirmisher. Graindorge (2nd Brigade) has 3 Light Infantry, and 1 poor Light Infantry. Soult has two light cavalry. The French setup first; all cavalry are exhausted, and roll for each infantry battalion, on a 1-4 on a D6 the unit is exhausted ( we marked the units with counters and this meant they lost the French Doctrine of moving and changing from line to column and visa versa, they were further inhibited with a 2/3rds movement penalty. The French are on defend orders. The British setup on attack orders. You would get the full scenario details in Michael’s book - Rise of Albion.
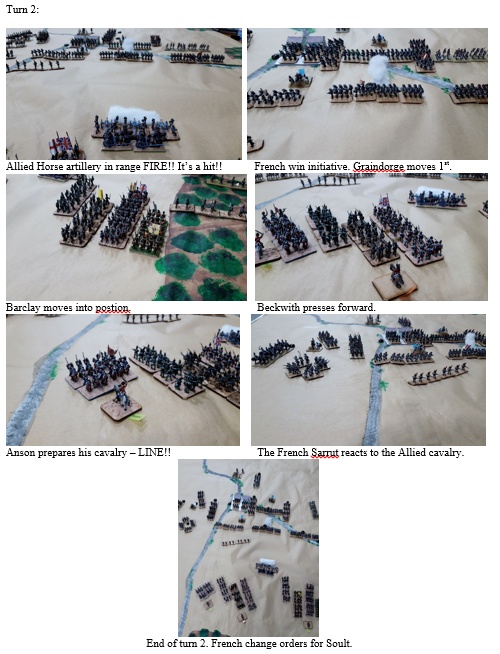
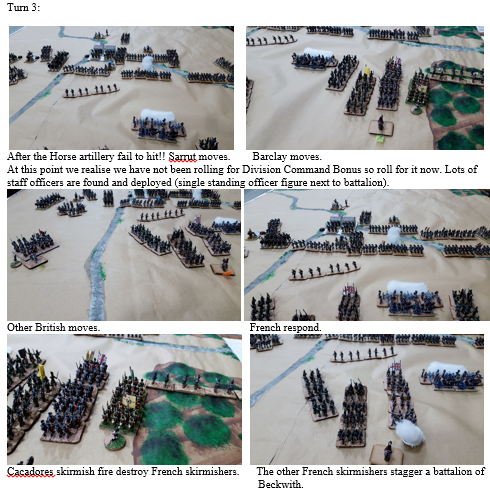
We are continuing to use the Shako II advanced rules for Out of Ammo on artillery, simultaneous support moves with brigade initiative, and Divisional Command (DC) Bonuses. That is when we remember and don't get carried away with the battle.
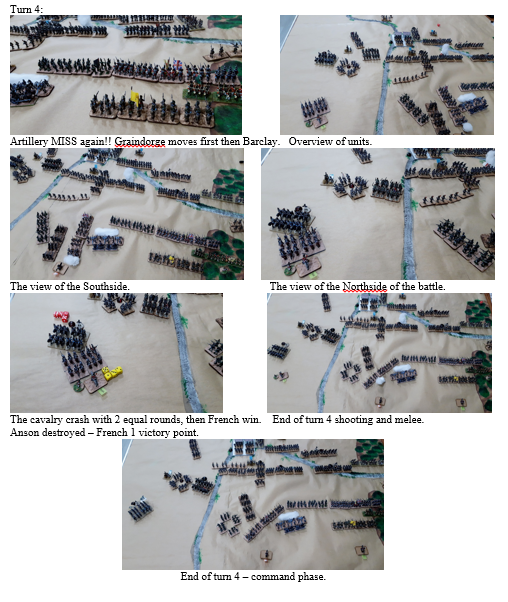

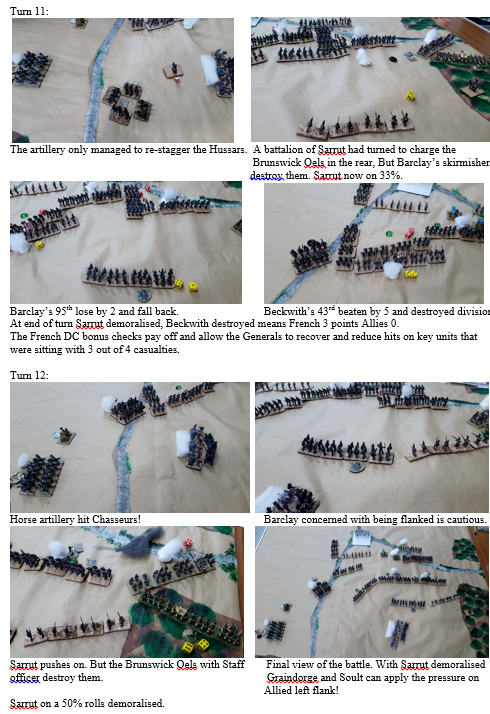
Night falls French victory 3 points versus Allied 0. The final Sarrut roll saves the French otherwise it would have been a draw 3 / 3!! How close is that!
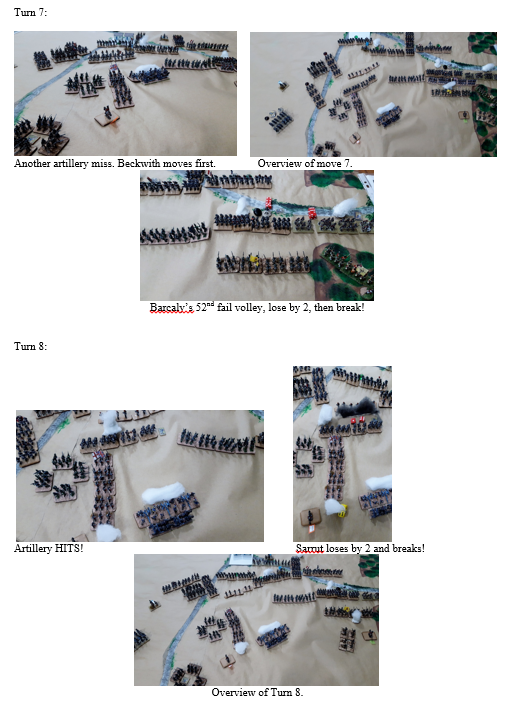
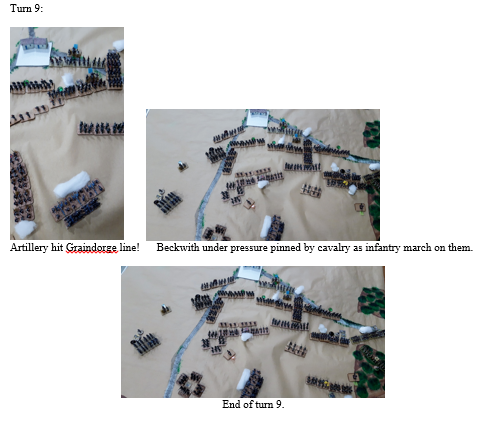
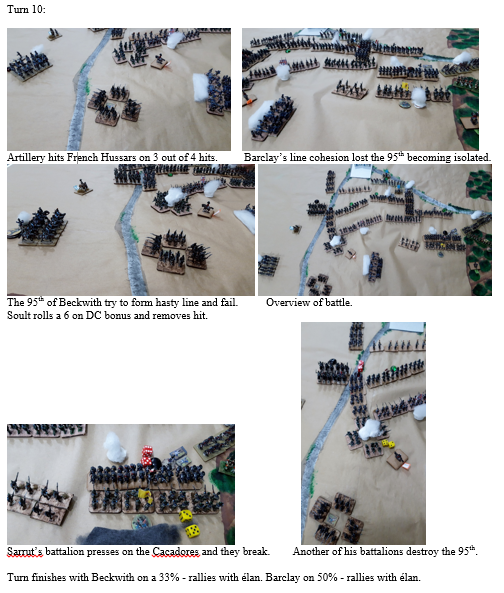
The final two turns the French pressure paid off and the allied units fell. With amazing Divisional Command bonuses from the French they were able to bolster several units; Soults Hussars on 3/4 hits so another artillery hit turn 12 and would be destroyed forcing Soult on a 50%, with a DC bonus the Hussars became 2/4 so were not concerned. Barclay’s 95th were poised to smash a battalion of Sarrut on 3/4 hits, but the DC bonus allowed a recovery so on a 2/4 hits. But a 5 destroyed units of Sarrut on 7 (71%) does not get the 75% to destroy the unit but would force another 50%, and with Graindorge pressing on the flank it was not viable.
Historical Outcome:
Wellington stopped the allied attack. Spencer and Hill’s divisions were too far behind. | 


