Battle Calhariz 23rd November 1810
Introduction:
Pack and Anson with their brigades are on duty to protect one of the three bridges the Allies are using to attack the French from. The Allies of Pack and Anson are on the French side of the river., which has flooded and is impassable except over the bridge. The French see an opportunity to get the bridge and disrupt the allies divisions to the North and the South.
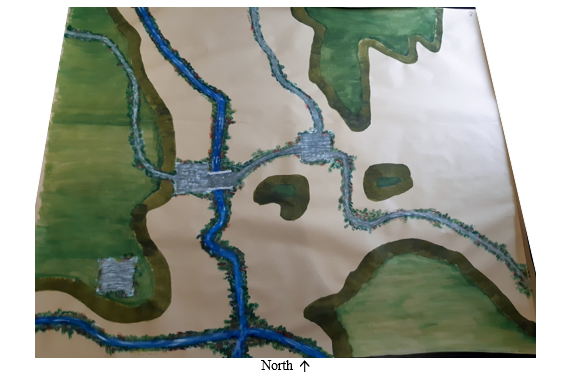
Setup
The terrain map was put together with brown wrapping paper – 100gsm 750mm x 50m Kraft Wrapping paper. Overlapping in the middle set to size 6’ by 4’ with side edge extra for strength of a few inches – glued with PVA / glue stick. Terrain map basic layout courtesy of Michael Hopper’s - Rise of Albion scenario book. So I sketched out to scale and painted on with Acrylic paints to designate the hills, roads, orchards (an adaption I chose from the lovely maps created by Colin in our 20mm campaigns – see Simon’s blog on http://www.servicerationdistributionhobby.blogspot.com ). Found with 15mm figures the 2D maps are the easiest and Michael’s maps and positions of terrain make all the difference in the battle. So cheap, easy to store, and if you are finished with it then environmentally easy to dispose of.
In this map the hills are gentle. With roads and the built up area of Calhariz to the west of the important and only bridge in the middle. The river is flooded and impassable.
The basic scenario involves the French pushing in from the North (top of picture), and East (left of the picture) on to the Allies protecting the bridge.
I am playing the British CinC Anson, with Arentschildt as General (I will refer to as Anson) who has 1 Elite KGL Hussars, and 1 Light Dragoon. Peiria (I will refer to as Pack) the other General with 5 average Infantry, 1 skirmisher, 1 Horse artillery. Alan is the French CinC Clauzel with General Menard (1st Brigade) who has 4 poor Light Infantry. Godart (2nd Brigade) has 3 average Infantry, and 1 poor Infantry, 1 Skirmisher. Taupin 3 poor infantry, 1 light foot artillery. Soult has two light cavalry: Hussar and Chasseur. The Allies setup first on Defend orders, the French are on attack orders. You would get the full scenario details in Michael’s book - Rise of Albion.
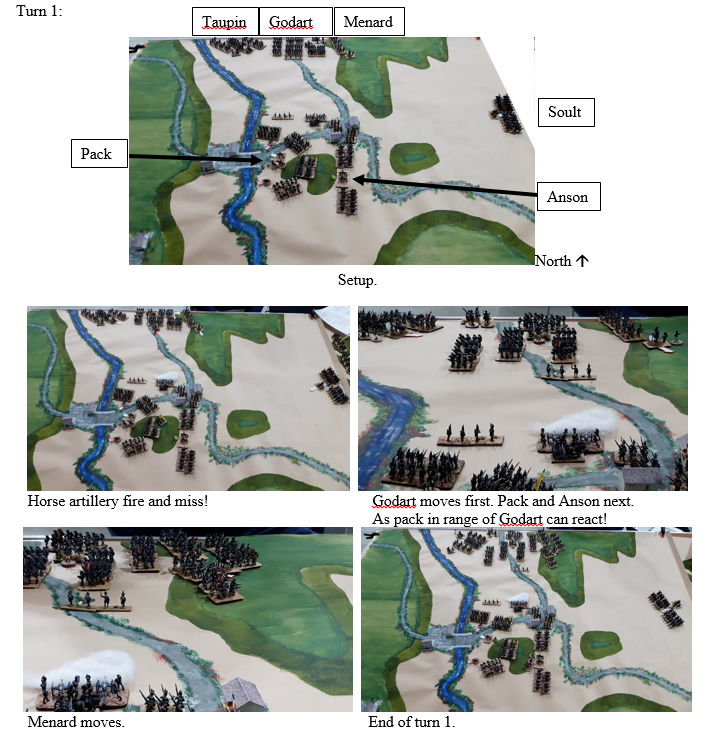
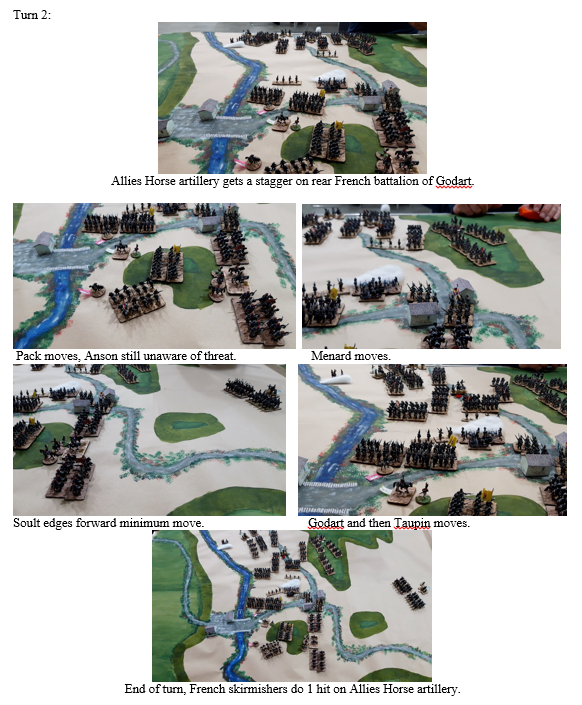
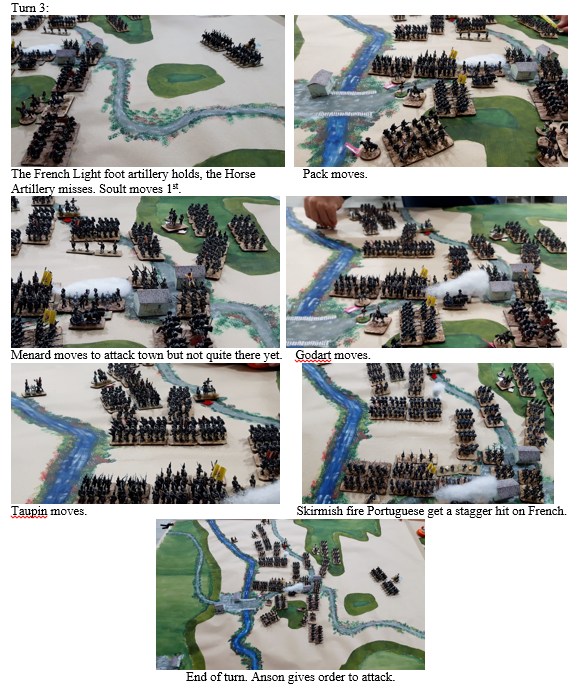
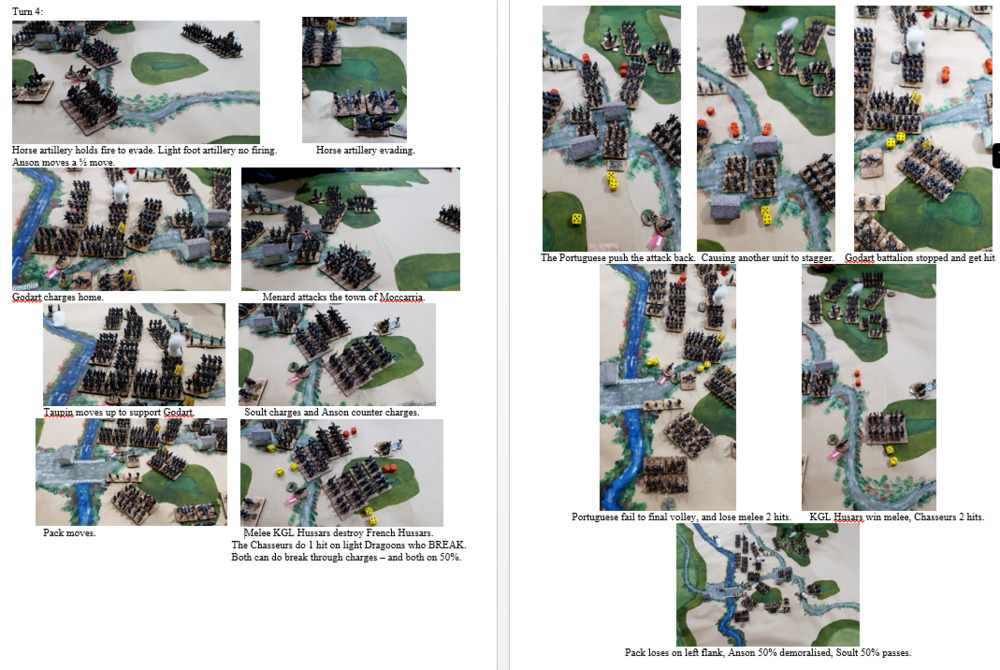
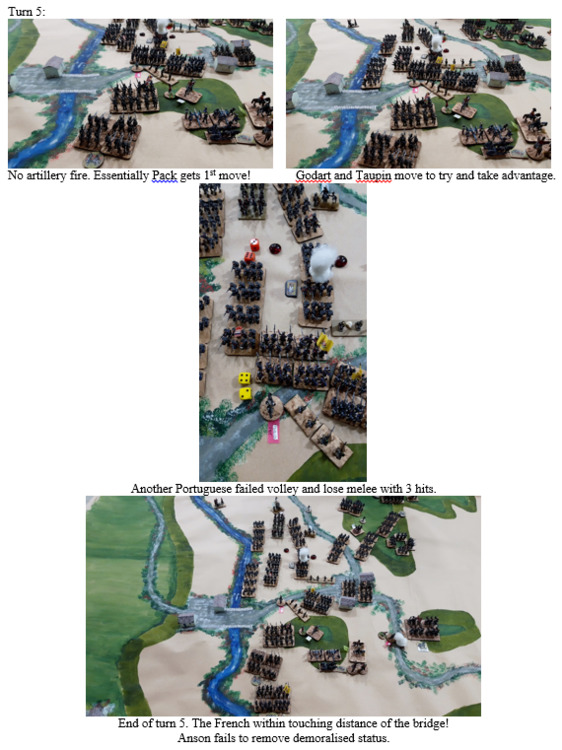
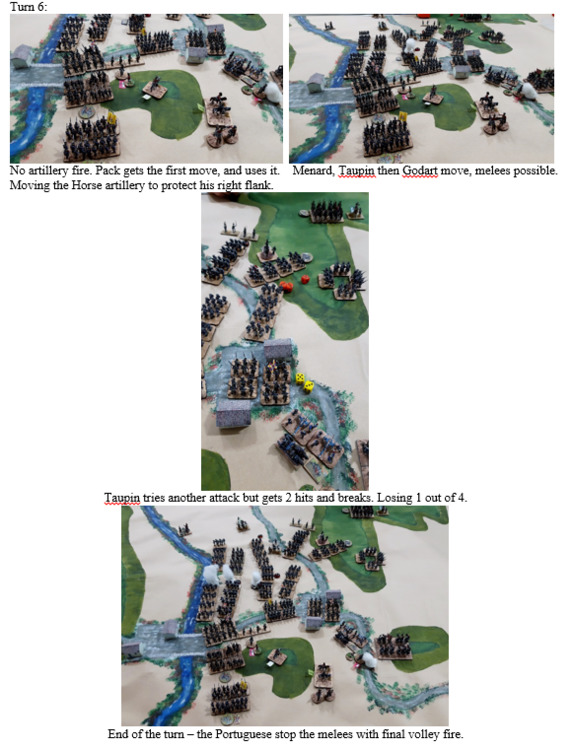
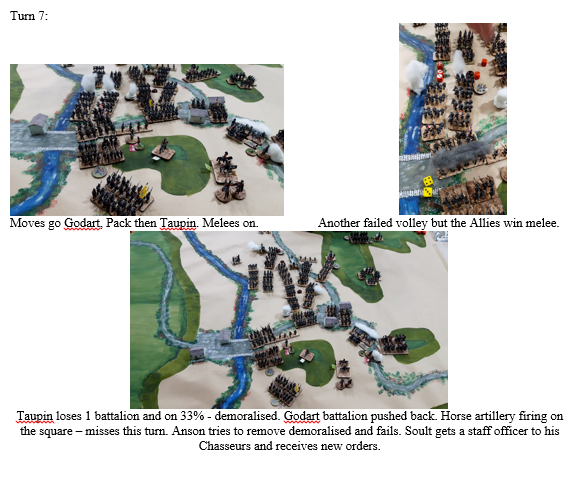
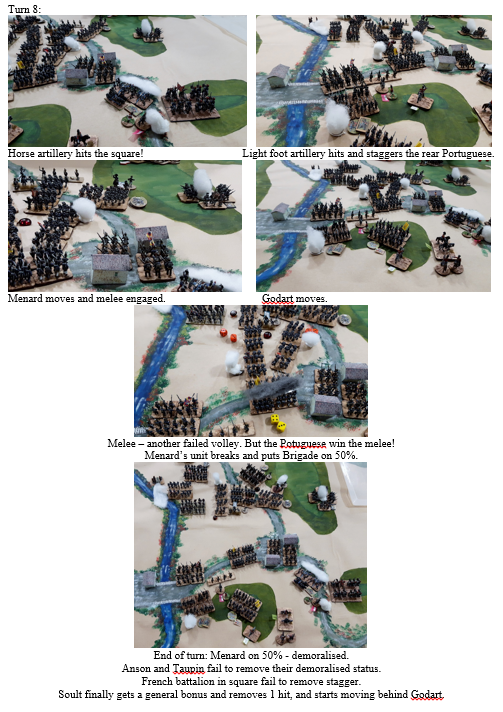
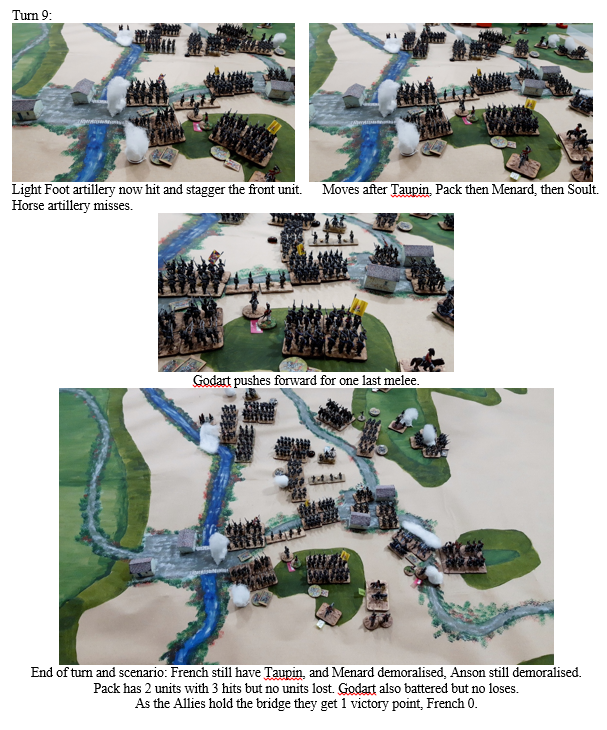
Night falls Allied minor victory 1 points versus French 0.
After reading the rules again – we were using the adopted 4 wide battalion used in the 20mm games at Simon’s – here we decided to reduce the line formation to 2 base wide but 2 rows. It made quite a difference in what space the Brigades and Divisions could cover. As neither of us rolled many sixes the Divisional Bonus only came up three times, all for the French and with Soult getting 2 - one to attach a Staff officer and then to remove a casualty. Godart removing a stagger. But none made any significant difference to the scenario.
Historical Outcome:
The Allies fought for a couple of hours then withdrew across the bridge. The Bridge was in Allied hands as they then pressed their attack on the French.
We had tried this same scenario a couple of weeks ago with Black Powder II. The British cavalry Anson drove the French Soult off the table at turn 1 (as no defend orders in BP II). After very quick heroic movements by the French melees were started by turn 2. The cavalry played no more part in the battle. Menard formed 2 battalions in square and the Allied cavalry could not attack them (BP II rule). The British and Portuguese melees and firing were ineffective as long as the units passed their break tests – which they did. The Portuguese had a unit in the town as here but they could not be removed – as even when they failed a break test they stayed in the town (BP II rule). The French were all on break tests and the Portuguese were also badly beaten up. With very frustrated players the game was stopped by turn 7.
We have played Bloody Big Battles with ACW – and are looking at BBB in Napoleonic’s. So watch this space when we next do a big battle we could be using another system – there are loads out there. These scenarios allow themselves to be used by any rule system.
| 